Last updated November 21, 2026
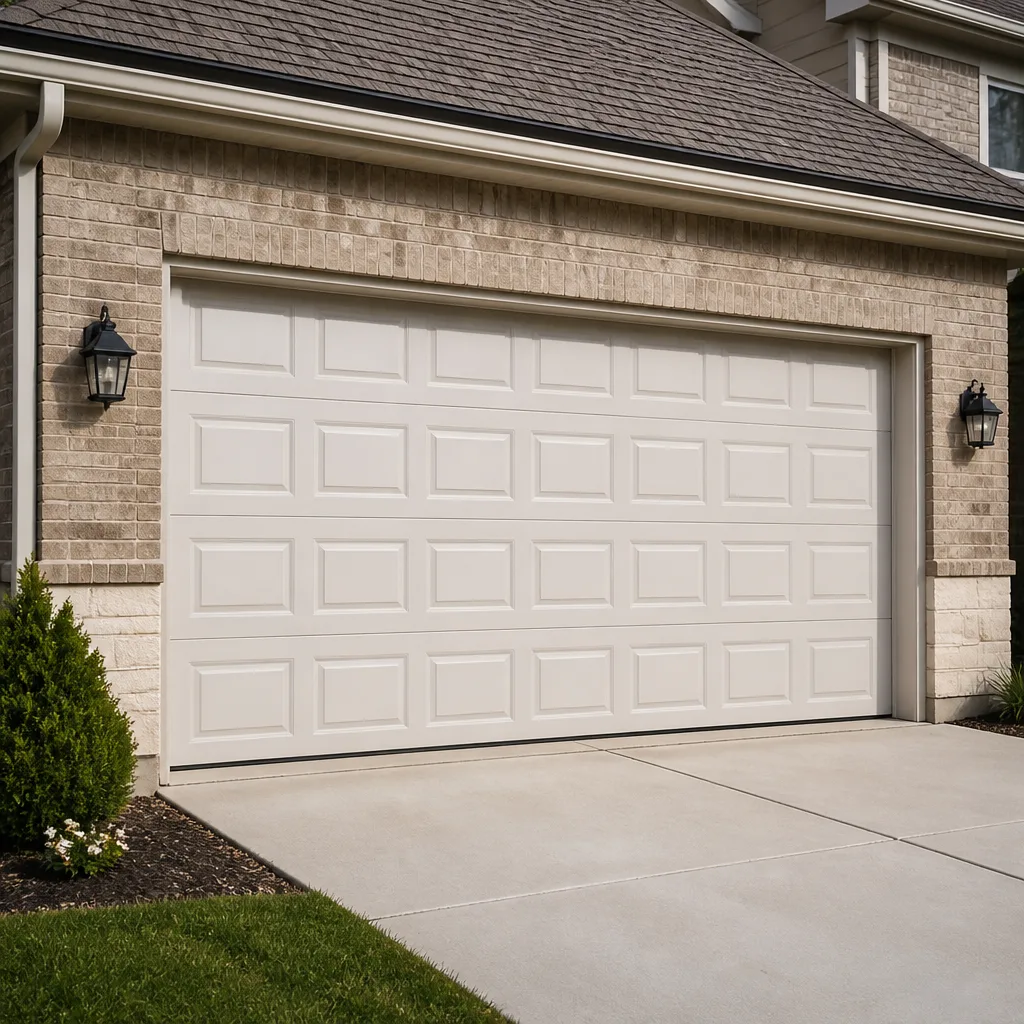 Raised-panel steel
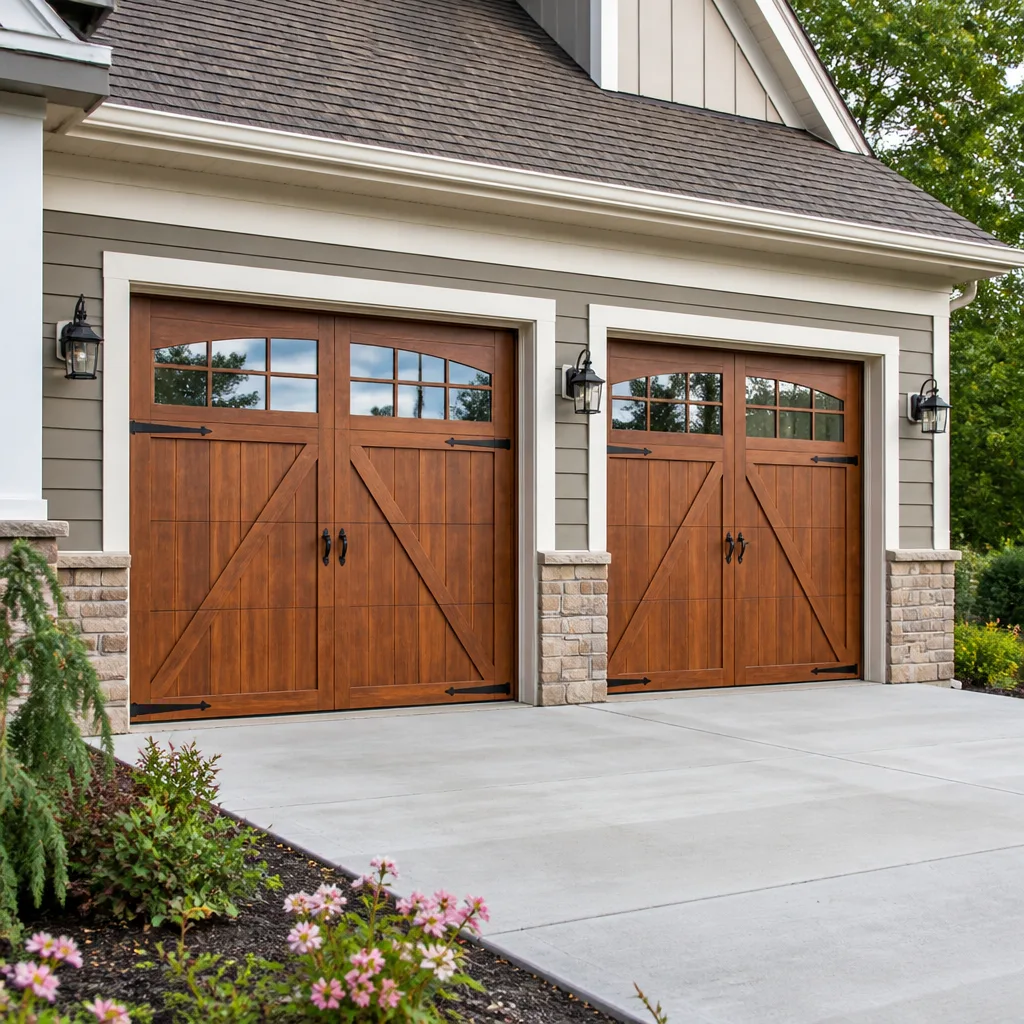 Carriage house
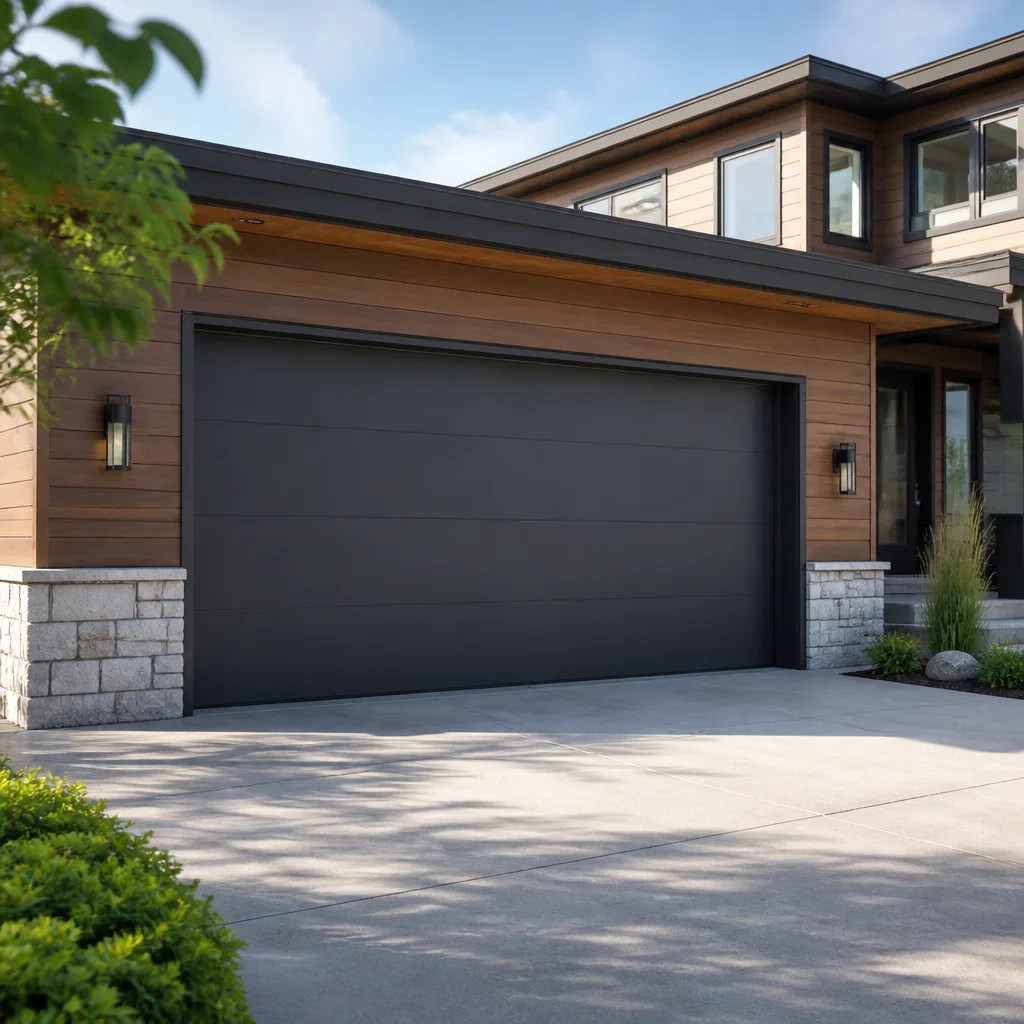 Modern flush
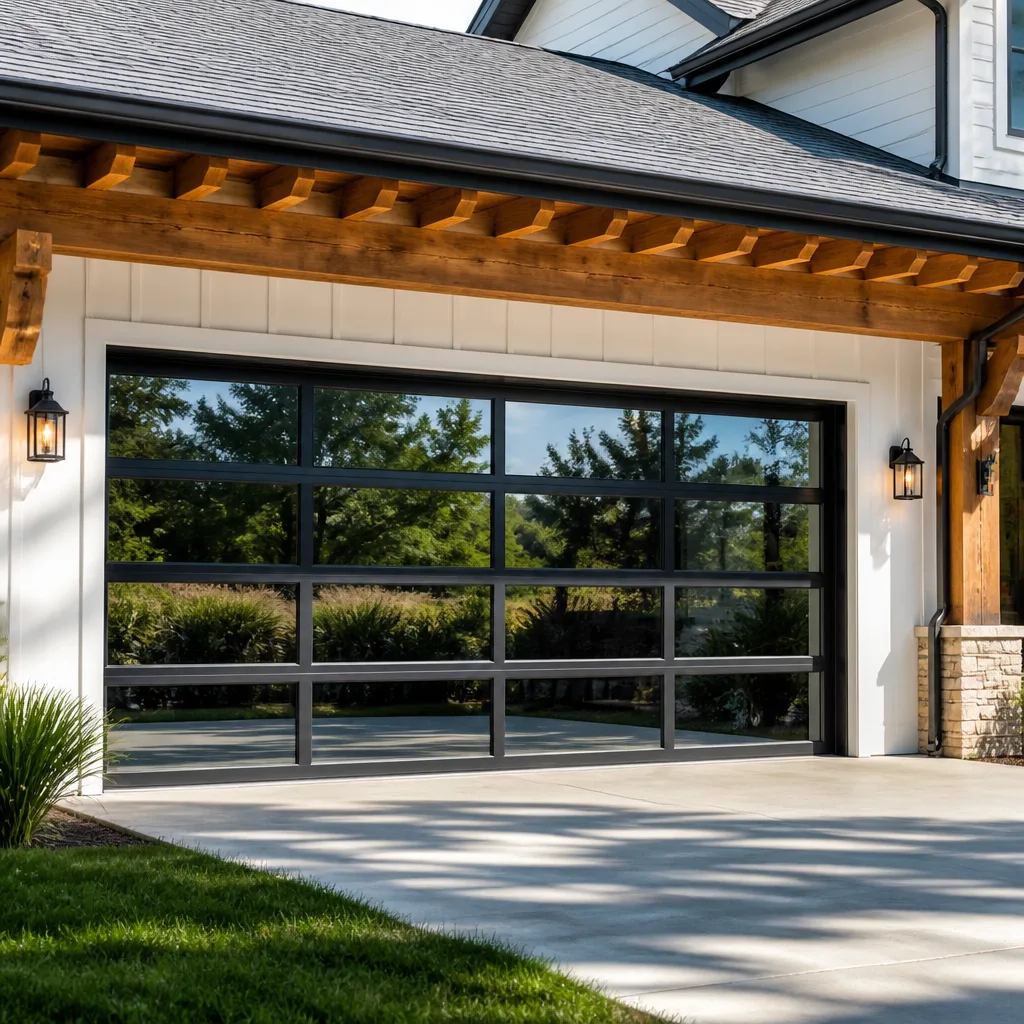 Full-view glass
 LiftMaster openers
 Chamberlain openers
Full 25-point door and opener safety check with every visit - springs, cables, rollers, tracks, and your LiftMaster or Chamberlain opener included
You get a price before we start. It does not change when the pro arrives.
Get your free estimateGarage Door Repair Maintenance Checklist for Wakefield Homeowners
The number one reason Wakefield homeowners call for emergency garage door repair is a problem a 10-minute quarterly check would have caught. Most people assume it’s a snapped spring. In our experience, it’s usually the bottom seal and the cable drum alignment – two components nobody thinks about until the door starts grinding, sticking, or coming down crooked. Here’s the problem with most checklists: they tell you to “lubricate the hinges” and stop there. No lubricant named. No amount specified. No explanation of what you’re actually preventing. This guide is built around the specific failure points that generate the most service calls in Wakefield, with pass/fail criteria you can actually judge, the right (and wrong) products for each part, and a printable log format so your inspection history is on file before a technician arrives.
Quick Answer
A garage door maintenance checklist you’ll actually use covers seven points on a quarterly basis: the bottom seal, cable drum alignment, hinges, rollers, springs (visual only), opener force and balance, and a full lubrication pass with the correct product. The two items most homeowners skip – the bottom seal and cable drum alignment – are also the two that most reliably predict a much bigger repair.
Styles & brands we work with
- Raised-panel steel
- Carriage house
- Modern flush
- Full-view glass
- LiftMaster openers
- Chamberlain openers
Table of Contents
- Why this checklist looks different for Wakefield homes
- The component-by-component inspection protocol
- The cable and drum check that predicts spring failure
- Which lubricants go where – and what never to spray
- The bottom seal: the cheapest fix on the door
- Testing your opener and the safety reversal
- Your printable quarterly inspection log
- Seasonal maintenance for Wakefield’s weather
Why This Checklist Looks Different for Wakefield Homes
Wakefield isn’t a suburban subdivision where the worst thing your door faces is grass clippings. It’s a dense, walkable neighborhood with curbside parking, older housing stock, and a lot of doors that see daily use from multiple cars and deliveries. That environment changes which parts fail first.
Two local realities shape the wear pattern on Wakefield doors:
- Urban grime and grit. Street dust, exhaust film, and the fine grit that comes off winter sanding spreadlands collect on rollers, tracks, and hinge pivots. Grit is abrasive. It works its way into the places you lubricate and turns a smooth glide into metal-on-metal wear.
- Road salt tracked into the garage. Salt that comes in on tires and boots settles on the bottom section of the door and the lower tracks. It accelerates corrosion on the seal hardware, the bottom brackets, and any painted steel at ground level.
This is why a Wakefield checklist weights the lower half of the door more heavily than a generic guide would. The bottom seal, bottom brackets, and lower rollers take more abuse here than the top of the door does. If you’re in a home with a tight driveway that gets plowed snow stacked against the door through the winter, that adds mechanical pressure on top of the salt.
It also means maintenance frequency matters. A door on a suburban cul-de-sac can often get by with a twice-a-year check. A Wakefield door on a busy street that opens and closes six or more times a day should get a real look every quarter, and a quick visual every month.
The payoff is simple: a properly maintained door lasts longer, runs quieter, and is far less likely to strand a car at 7 in the morning. When something does go wrong, our garage door repair service handles it – but most of what this guide covers is work you can do yourself with a ladder, a rag, and the right lubricant.
The Component-by-Component Inspection Protocol
Here’s the full protocol. Work top to bottom, and use the pass/fail criteria next to each item rather than eyeballing it. “Check for wear” tells you nothing. These criteria tell you whether you keep going or call someone.
A few ground rules before you start:
- Do the inspection with the door closed. Springs are under extreme tension whenever the door is down, and you never want to be reaching into that hardware.
- Never touch, adjust, or remove a spring, cable, or bottom bracket. These are the parts that injure people. Look, don’t touch.
- Keep hands clear of the track path and the hinge joints while the door is moving.
With that said, here’s what to look at:
- Track alignment. Pass: tracks are parallel to the door, plumb, and free of dents. Fail: noticeable bowing, a kink, or tracks out of plumb. A bent track drags the rollers and puts uneven load on the cables.
- Rollers. Pass: rollers turn freely and the wheels are smooth and quiet. Fail: a cracked nylon wheel, a flat spot, or a steel roller with visible flat wear. Worn rollers are one of the most common causes of a noisy door.
- Hinges. Pass: hinge plates sit flush and pivot without slop. Fail: a hinge that wiggles, is bent, or has a loose or stripped screw hole. Loose hinges put strain on the panel joint.
- Springs (visual only). Pass: the coil is even, the paint is intact, and there’s no visible gap. Fail: a visible gap in the coil, a stretched coil, or a noticeably different color/rust pattern than the other side. A gap means the spring has broken – stop and call.
- Cables and drums. Pass: cables lie flat and evenly wound on the drum, with no fraying or slack. Fail: a cable that’s jumped off the drum, is frayed, or is suddenly slack. This is the item most homeowners skip – see the section below.
- Bottom seal. Pass: the rubber sits flat against the floor, no light visible underneath, no cracks. Fail: gaps, tears, or a seal so stiff it no longer touches the concrete.
- Balance test. Pull the release handle to disengage the opener (with the door closed), then lift the door halfway by hand. Pass: the door holds roughly in place with light effort. Fail: the door drops or rises on its own – that signals spring tension or balance problems. Re-engage the opener after testing.
A door that fails two or more of these needs professional attention before you keep running it. Each failure compounds the next. A dragging roller overloads the opener. An out-of-balance door stresses the cables. And a stressed cable is the thing that snaps.
The Cable and Drum Check That Predicts Spring Failure
If you read one section of this guide, read this one. Cable and drum inspection is the check most homeowners skip, and it’s the single best early-warning system for a failing spring. In our experience, the way a cable winds on the drum tells you when spring work is 3 to 6 months out.
Here’s how the system works. Each side of the door has a torsion spring or extension springs, a cable, and a drum at the top of the track. The spring controls the door’s weight; the cable transfers that tension to the door edges; the drum winds the cable as the door travels. Under load, the cable should wrap in neat, even, equally spaced coils.
What the drum is telling you:
- Even, tight coils on both drums: passing. Keep watching.
- One drum with noticeably more stacked or bunched cable than the other: early warning. That asymmetry usually means one spring is losing tension faster than its partner, and the cables are compensating.
- A cable that has jumped, crossed, or gone slack on the drum: stop. The door is out of balance and running it is a hazard.
- Fraying strands near the drum (look for a fuzzy, hair-like texture): the cable is fatigued. Cables typically fail before springs do when doors are run out of balance for long enough.
The reason this predicts spring failure is that the spring and the drum share load. When one side of the spring assembly loses tension, the drum on that side stacks cable unevenly. So look at both drums together. Even if the springs look fine visually, mismatched drums are a signal to get a professional eye on it before the tension imbalance gets worse.
One safety note. Never touch a cable under tension, never try to “re-seat” a jumped cable by hand, and never cut or loosen a bottom bracket. Cables and springs store enough energy to cause serious injury. The drum check is a look-only inspection. If you see a jump, a slack cable, or fraying, that’s a call-in – a competent specialist will assess safely.
Springs break on their own schedule, but they usually give warning first. If you’re seeing the early signs and want to know what replacement involves, our garage door spring repair page covers it in detail. And if a spring has already broken – meaning the door won’t lift and the opener strains – that’s the kind of thing that belongs in emergency response, not a weekend project.
Which Lubricants Go Where – and What Never to Spray
Lubrication is where generic checklists do the most damage, and where we see the most avoidable problems. You need three things and no more. The wrong product in the wrong place causes as much trouble as no lubrication.
The three things:
- Silicone spray (or a silicone-based garage door lubricant) for hinges, rollers, and the pivot points.
- White lithium grease or a proper garage door grease for the opener rail and the door’s hinges if you’re doing a full seasonal pass.
- A dry PTFE or silicone spray for the bottom seal and the door’s rubber weatherstripping, so the rubber doesn’t dry-crack.
What goes where:
- Springs: a light coat of silicone spray only, if anything. Not WD-40. This is the big one.
- Hinges and pivot points: a small shot of silicone spray into each hinge joint.
- Rollers: a light spray on the stem and bearing, not on the wheel. A little bit. Let it travel, then wipe the excess.
- Opener rail: a thin film of white lithium grease or a door-opener-specific lubricant on the rail. Wipe off any excess so it doesn’t attract grit.
- Bottom seal: a dry silicone spray, wiped in. This keeps the rubber supple where it meets the concrete.
Now the hard part – what never to spray on a garage door:
- WD-40 on the springs. This is the most common mistake we see. WD-40 is a solvent and a light penetrating oil, not a lubricant meant for high-cycle metal under tension. It strips the protective coating and, over time, attracts grit. A dry spring will break sooner than one kept lightly lubricated, and WD-40 is not keeping it lubricated.
- Any grease or oil on the bottom seal. Oil-based lubricants degrade the rubber, and road grit and salt will stick to the film and wear the seal faster.
- Lubricants on the inside of the tracks. People spray the tracks thinking it helps. It doesn’t. It attracts grit and makes rollers slip on the track instead of rolling – which is worse for the door. The tracks should be wiped clean, not greased.
- Any spray on a torsion spring you can’t see clearly. If you can’t see the spring properly from a safe position with the door closed, leave it.
Lubrication takes about 10 minutes once you have the right product. Wipe the parts first so you’re lubricating metal, not grit.
The Bottom Seal: The Cheapest Fix on the Door
The bottom seal is the rubber flap across the base of the door – the thing that touches the floor when the door closes. It’s also the cheapest maintenance item on a garage door and the one most likely to be ignored. In our experience, a failing bottom seal is one of the two items behind most emergency calls in Wakefield, because a torn or hardened seal lets water in, lets air in, and eventually lets the door rest on the frame instead of the floor.
Why it matters more on a Wakefield door than a suburban one: the bottom seal is the part of the door closest to the street. It takes the brunt of road salt, grit, and splash from tires. On a home with a tight driveway, it’s also where plowed or piled snow presses. Rubber subjected to salt and freezing dries, hardens, and cracks faster than clean rubber does.
Check it like this:
- Light test. Close the door, then look along the floor seam from inside the garage. Any visible daylight, at any point, is a fail.
- Feel test. Run a hand along the seal. Pass: soft, supple, springy. Fail: stiff, hard, cracked, or a piece missing.
- Salt test. Look at the rubber near the ground for a white, crusty residue and the metal bracket above the seal for orange rust. Both are wake-up calls for cleaning and a seal replacement.
Replacing a bottom seal is one of the genuinely manageable DIY jobs on a garage door – it’s a rubber strip and, on many doors, a small bracket kit. But you never want to be reaching near the bottom bracket under spring tension, which is why some homes are better off having the whole seal-and-bracket checked together by a technician. If your door also leaks water into the garage, seal replacement is the first thing to look at.
Clean the bottom of the door and the seal itself with a damp cloth every quarter. That one habit alone extends the seal’s life noticeably in a Wakefield garage.
Testing Your Opener and the Safety Reversal
Your opener does less work than you think – or it should. A well-balanced door is mostly spring-loaded; the opener only tips the door through its arc. Which means if your opener is straining, the problem is usually in the door, not the opener. This is why the opener and balance check belongs on your quarterly list.
Do this on a door that’s already been balanced (from the pass/fail test earlier):
- Force test. With the door closed, pull the opener release. Open the door by hand. If it takes real effort to lift, or won’t stay put at the halfway point, the door is out of balance and the opener is doing spring work it should never do. That’s a call.
- Reversal test. Close the door with the opener. Place a roll of paper towels or a piece of wood flat on the floor under the closing door. On contact, the door should reverse direction. If it doesn’t, the opener’s safety system needs a technician. This is a real safety feature: a door that fails to reverse can trap a small child or a pet.
- Photo-eye test. With the door closing, wave something through the beam between the two sensors near the floor. The door should reverse. If not, adjust or replace the eyes.
- Speed-of-travel. Your opener should move the door at a steady, even pace. A hesitation, a lurch, or a pause partway is a sign of strain or a door problem, not an opener problem.
If the opener itself is failing (the door travels partway then stops, the remote only works up close, the lights flash an error pattern), that’s a different problem. We see a lot of Genie and Chamberlain units in Wakefield homes where the issue is the logic board or the travel limits, not the door. Our garage door opener repair service covers all of the major brands, so you’re not stuck trying to find someone who knows your specific unit.
If your door is balanced, runs smooth, and reverses properly, your opener is doing its job. Keep the chain or belt lubricated, keep the rail clean, and you’ll get years out of it.
Your Printable Quarterly Inspection Log
One habit separates a well-maintained door from a door that fails suddenly: a written record. When a technician arrives, a log tells the whole story – what passed, what was flagged, and when – without guesswork. It also lets you catch a trend. A cable that started fraying a quarter ago is a different problem than one that frayed this month.
Print this, keep a copy in the garage, and fill it in every quarter:
- Date of inspection (quarter ending March, June, September, December works well)
- Bottom seal – pass / gap / cracked / replace
- Track alignment – plumb / bowed / kink noted
- Rollers – quiet / noisy / cracked or flat
- Hinges – snug / loose / bent
- Springs – visual only, no gap / gap / stretched
- Cable and drum alignment – even / uneven / jumped / frayed
- Balance test – holds halfway / drops / rises
- Reversal test – reverses on contact / fails
- Photo-eye test – blocks and reverses / fails
- Lubrication – hinges / rollers / opener rail / spring (silicone only)
- Notes – anything that changed this quarter
The printable format can be as simple as a checklist on a sheet of paper. What matters is the date and the pass/fail next to each item. It turns a vague “the door feels a little rough lately” into a concrete history you can hand to a technician.
Our technicians have up to 11 years of experience, and the first thing we look for on a service call is the log. If you don’t have one, the second best thing is a photo of each drum taken this quarter, since comparing changes over time is the whole point.
Seasonal Maintenance for Wakefield’s Weather
Wakefield winters are hard on a garage door in specific ways. Here’s a seasonal overlay to put on top of the quarterly checklist.
Fall (before the first freeze):
- Clean the bottom seal and the lower tracks thoroughly. Salt will get in regardless, but a clean surface slows corrosion.
- Lubricate hinges and rollers ahead of the temperature drop. Cold metal contracts and the door runs rougher in freezing weather.
- Test the reversal and photo-eye functions. These matter more in winter because of the ice and grit that can interfere with the eyes.
Winter:
- Keep the bottom of the door clear of ice and piled snow. A frozen bottom seal will tear the first time the door opens.
- Watch the track for ice buildup – don’t chip at it with a screwdriver or chisel.
- Wipe salt residue off the bottom section of the door and the lower seal when you can. Salt is the biggest single accelerant of corrosion on a Wakefield door.
Spring (thaw season):
- This is the real check – winter is when cables and springs are most stressed. Do a full inspection, especially the cable and drum check, and definitely look for a bottom seal that hardened or cracked over the winter.
- Clean the tracks fully after winter: sand, salt, and grit have all collected over months.
Summer:
- Check the rubber seal and weatherstripping for dryness and cracking from heat exposure.
- Do a lubrication pass and check the opener’s force settings, since warmer grease can run.
If you’re planning a door replacement rather than continuing to repair it, the fall and spring are the quietest times to schedule a measurement and installation. Our garage door installation service handles brands like Clopay, Amarr, and Wayne Dalton, with a measured estimate before anything is ordered.
Common Mistakes to Avoid
- Spraying WD-40 on the springs. It’s the single most common lubricant mistake we see on Wakefield doors. WD-40 is a solvent, not a high-tension lubricant. It strips the coating, attracts grit, and leaves the spring drier than it was. Use silicone spray only, sparingly.
- Skipping the cable and drum check. “The springs look fine” isn’t maintenance. The drums tell you what the springs are doing; looking at them is how you catch a problem 3 to 6 months out.
- Greasing the tracks. Tracks should be cleaned, not greased. Grease attracts the grit that makes the door noisier and wears the rollers.
- Ignoring the bottom seal. A hard, cracked seal lets water and salt into the garage and eventually tears. It’s the cheapest part to replace and the one most skipped.
- Running an unbalanced door. Once the door is out of balance, the opener does spring work and fails early. Balance is a five-minute test that saves an opener replacement.
- Trying to adjust springs or cables yourself. Springs and cables are under serious tension. This is the one line you don’t cross on a DIY checklist. A specialist handles spring and cable work for good reason.
- Not keeping a log. Without a quarter-by-quarter record, a technician starts from scratch, and you lose the one thing that predicts failure: a trend over time.
See the difference
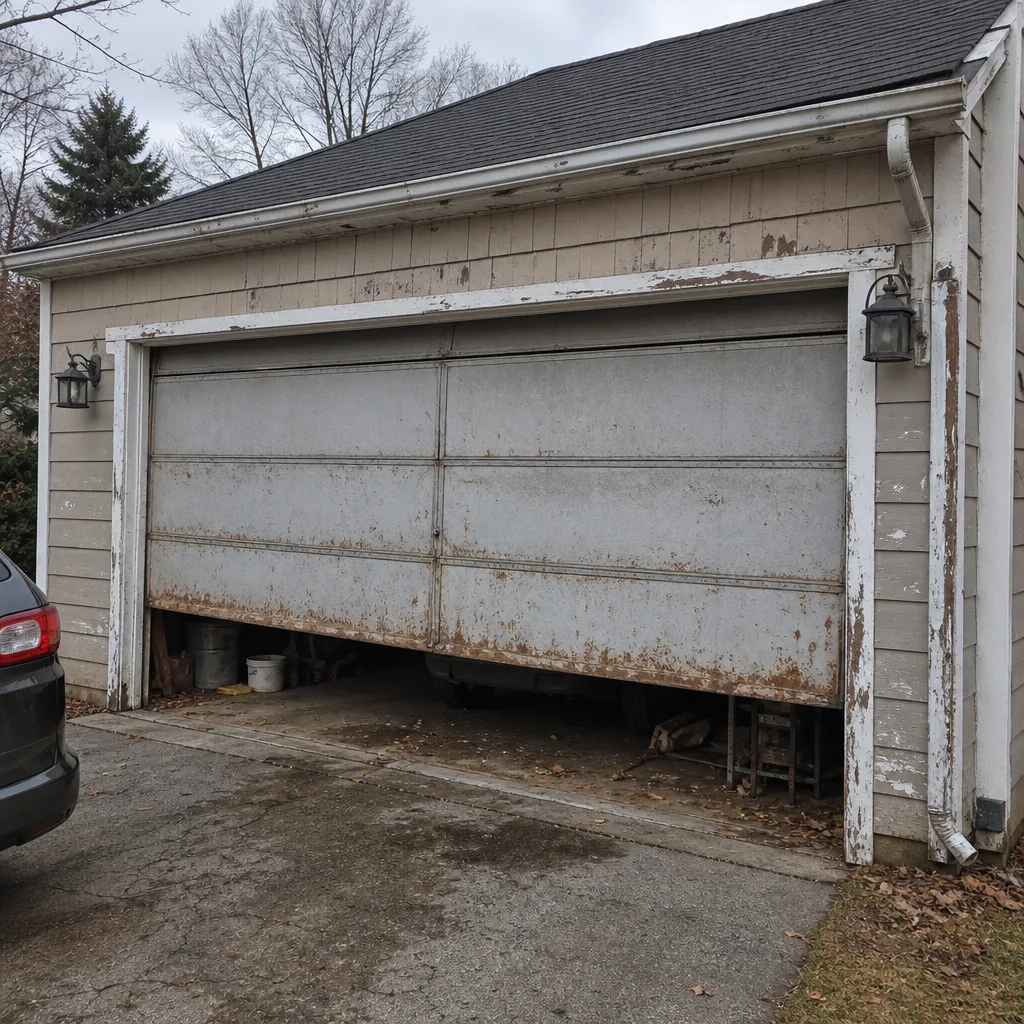 Before
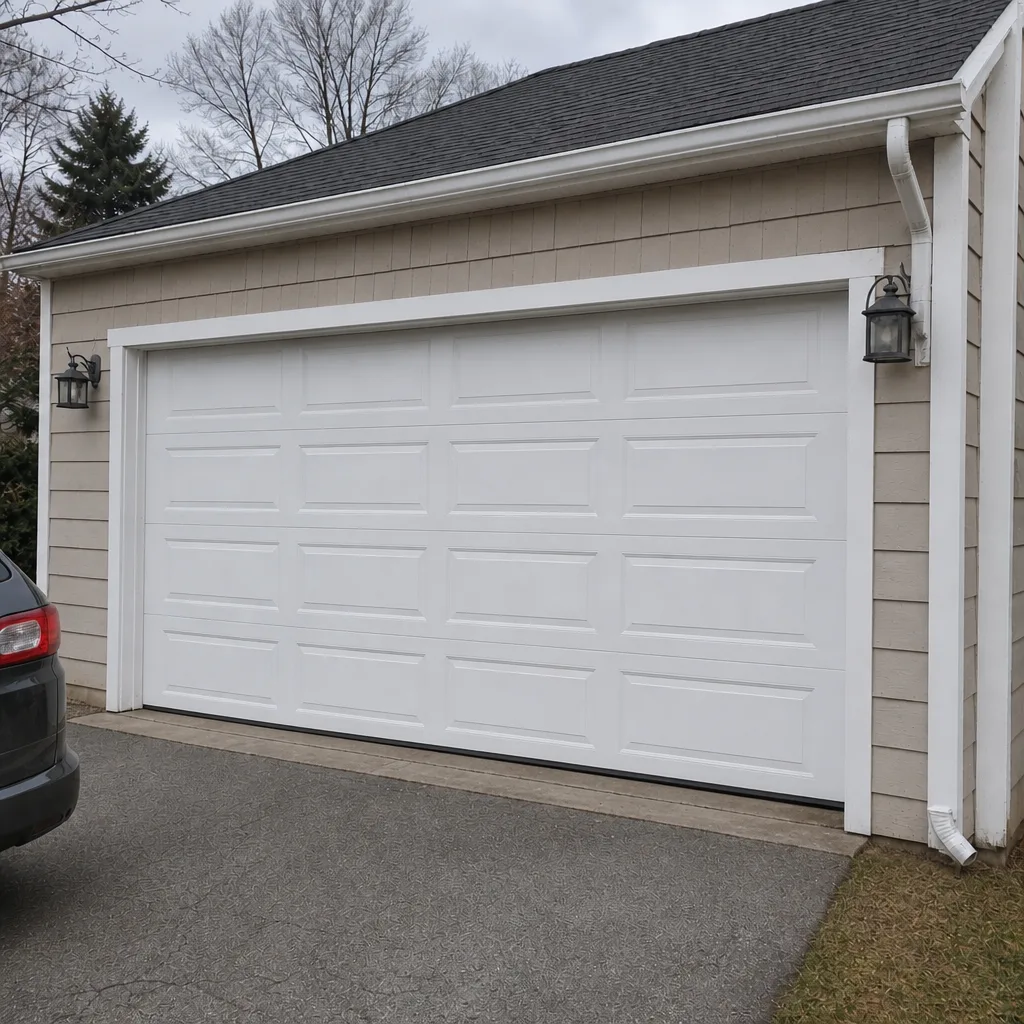 After
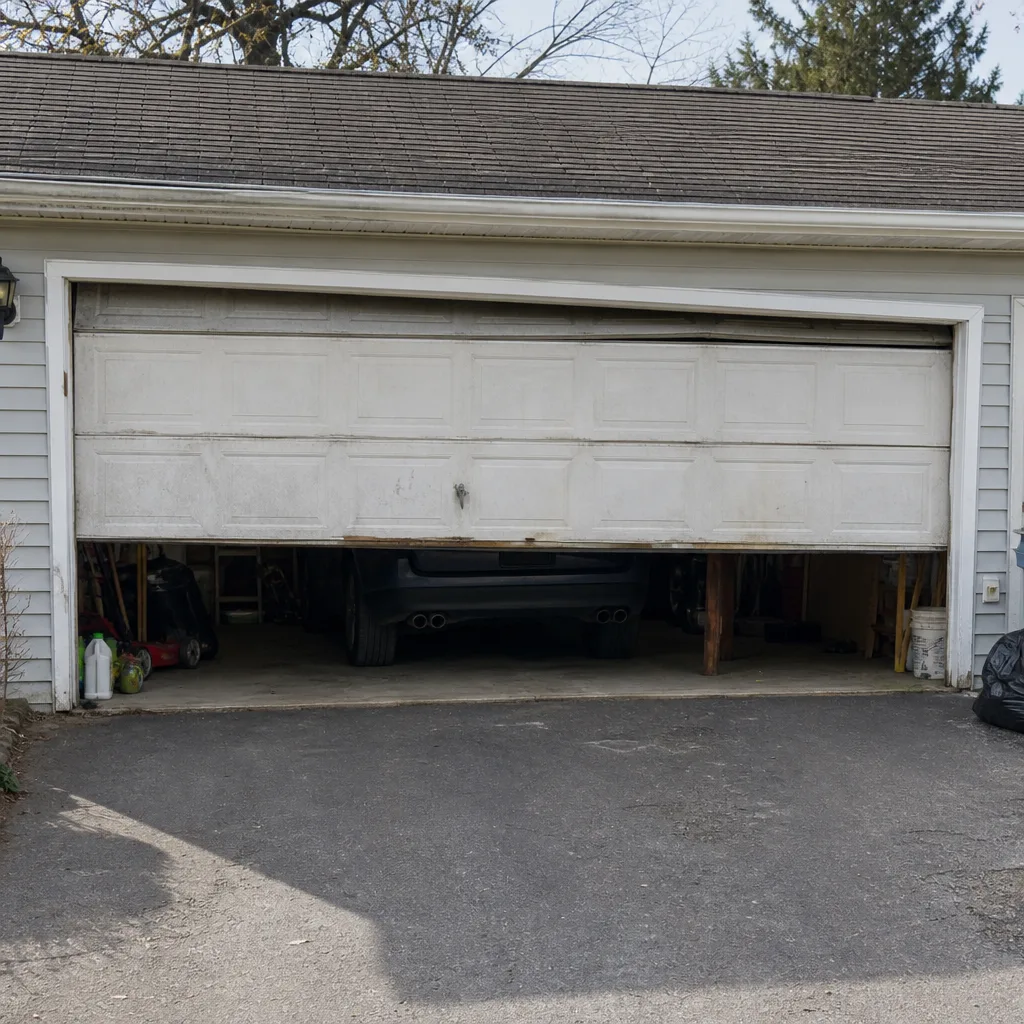 Before
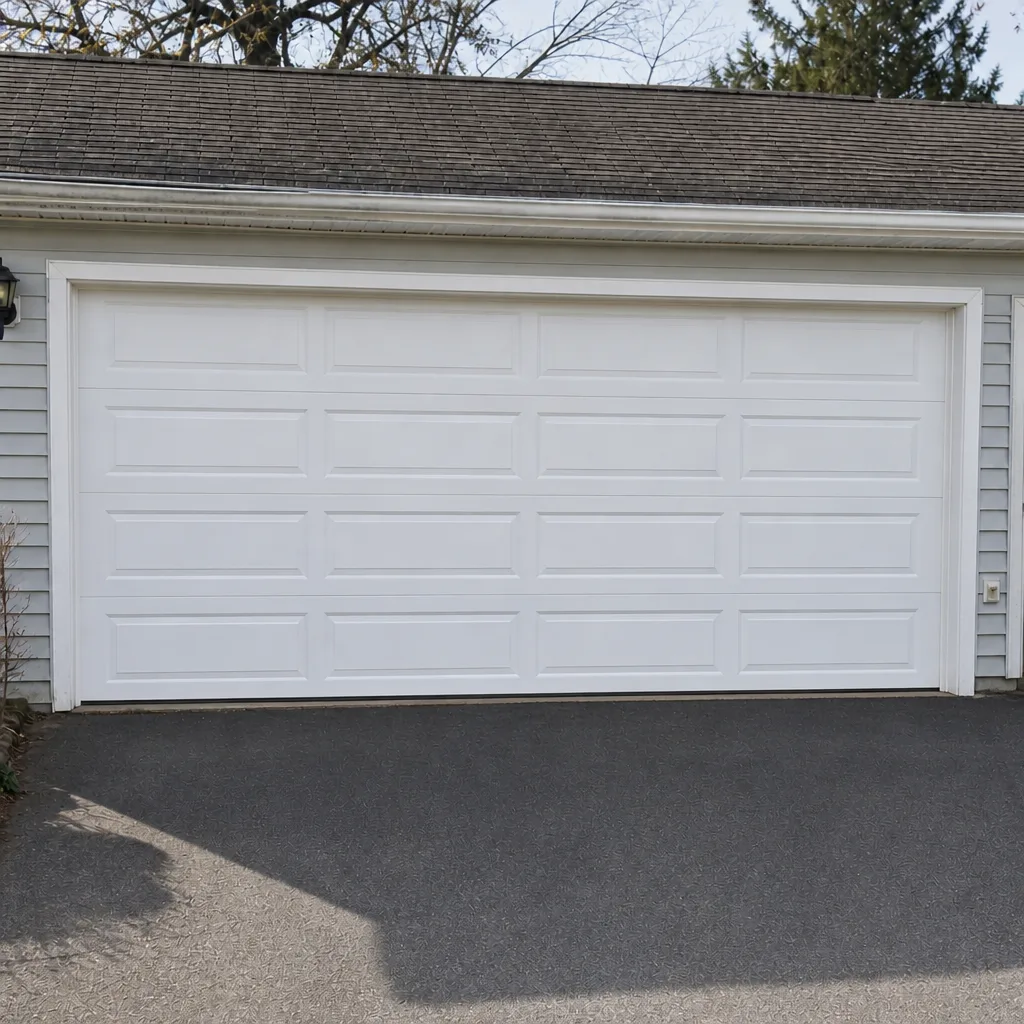 After
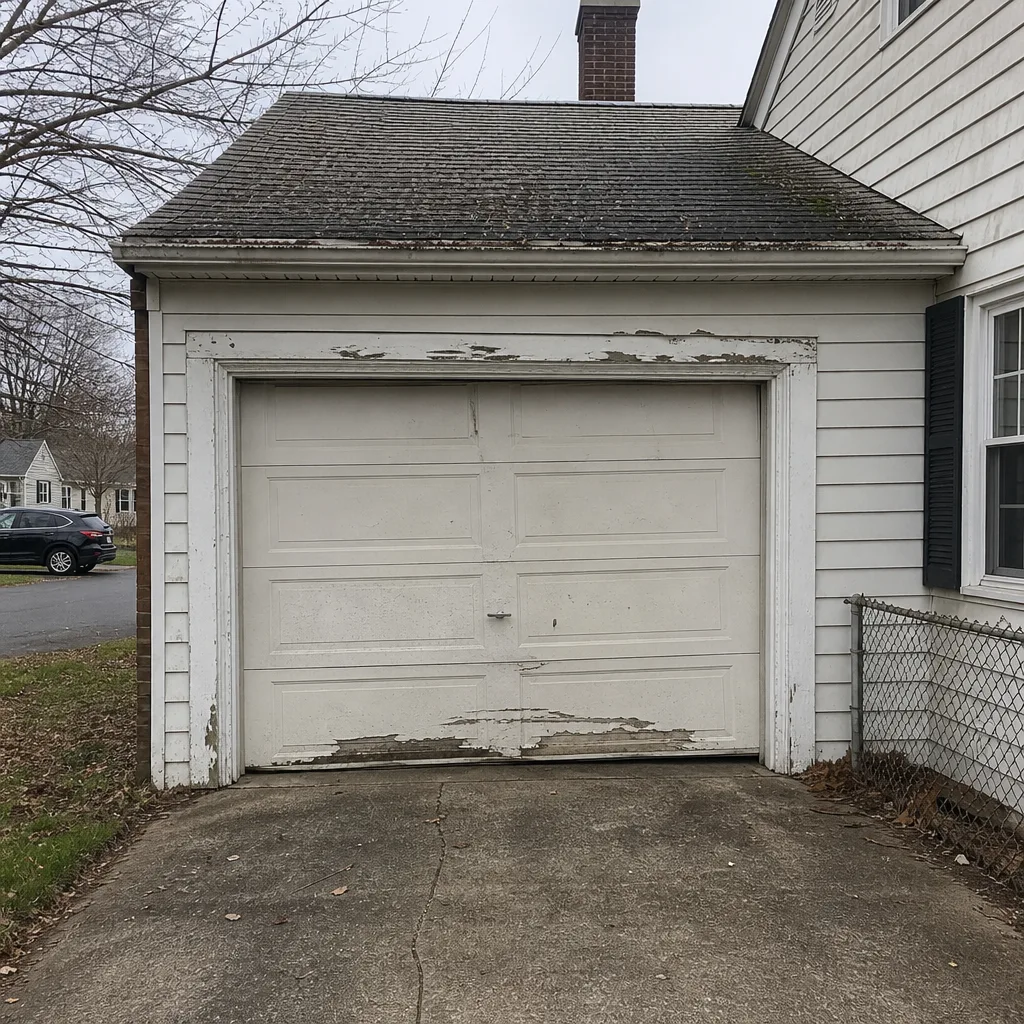 Before
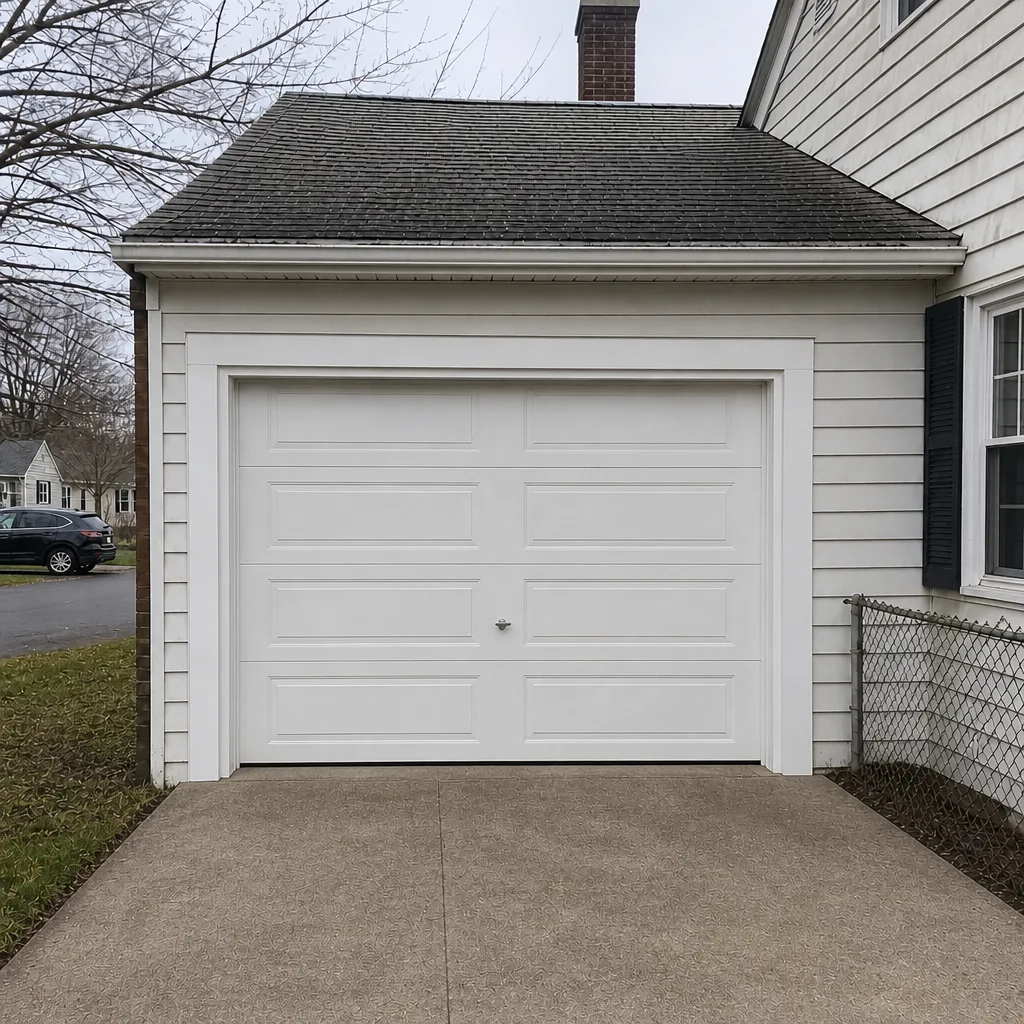 After
When to Call a Professional
Some items in this guide are honest DIY work: lubricating hinges, wiping tracks, checking the bottom seal, and running the balance and reversal tests. Others belong in a specialist’s hands, and it’s worth knowing where that line is.
Call a professional if:
- You see a gap in a spring coil, a slack or jumped cable, or fraying strands near the drum.
- The door drops or rises on its own during the balance test, or the opener strains to lift it.
- The door reverses only sometimes, or the photo-eyes fail to stop it.
- A cable has come off the drum or the door is hanging crooked.
- The bottom bracket or seal hardware is rusted through in a Wakefield garage that sees regular road salt.
Wakefield Garage Door Repair Pros offers free estimates in Wakefield. We work on the major brands – Genie, Clopay, Amarr, Wayne Dalton, and more – so a technician arrives already familiar with your system. Call (844) 459-6133 and we’ll get out there.
Frequently Asked Questions
Quarterly, with a quick visual once a month if your door opens several times a day. Doors on busy Wakefield streets see more grit and salt than a suburban door, which speeds up wear on the bottom seal and lower rollers. Once a quarter is the minimum to catch the cable and drum changes that predict spring failure.
Only with a light silicone spray, and only if the door is closed and you can see the spring from a safe position. Never use WD-40 or any oil-based product on a spring. If you can’t see the spring clearly, leave it for a technician – springs are under heavy tension at all times.
A failing bottom seal is hard, cracked, and no longer touches the floor evenly. Look for daylight under the closed door, white salt crust, or a rubber flap that has lost its springiness. Replacing it is one of the cheapest fixes on the door and one of the most important for keeping water out.
It’s a look-only inspection of how the cable winds on the drum at the top of each track. Even, tight coils on both sides mean the system is balanced. Uneven or bunched cable is an early sign of tension loss that can lead to spring failure. In our experience, it’s the best way to see a spring problem coming 3 to 6 months early.
Yes. Lubrication, cleaning, and catching small problems early reduces strain on the springs, cables, and opener – which are the three most expensive things to fix. A door that’s kept balanced and clean simply runs smoother and needs fewer repairs over its life.
If the springs, cables, and panels are the only issue and the door itself is sound, repair is usually the right call. Replacement becomes the better option when the door is rusted through, out of balance repeatedly, or badly dented. A free estimate in Wakefield will tell you which is the better use of your money.
The Bottom Line
The garage door failures that trigger emergency calls in Wakefield are almost always things a quarterly check would have caught. Check the bottom seal with a light test. Look at both cable drums, and treat uneven winding as a 3-to-6-month warning for spring trouble. Use silicone spray on hinges and rollers – never oil on the springs, never grease on the tracks. Test the balance and the safety reversal every quarter, and keep a written log so a technician arrives with history in hand. Those four habits are the difference.
Written by the team at Wakefield Garage Door Repair Pros.
Schedule Your Free Estimate
If your inspection turns up a problem you’d rather not tackle yourself, we’re here for it. Wakefield Garage Door Repair Pros handles spring repair, openers, repairs, and full installations, and emergency service is a named, standing offering – not an upsell. Call (844) 459-6133 for a free estimate, and a technician will tell you exactly what’s wrong before you commit.
For a full view of what we cover as a garage door specialist in Wakefield, visit Wakefield Garage Door Repair Pros – one call covers it.